In my mind that was supposed to be a project for a few weeks tops, but it effectively took me more than half a year from start to finish. I learned a couple of things with this project:
- Experience saves time. Someone who did this a couple of times before is likely at least 10 times faster than I am, because I have to think through everything many times to avoid making expensive mistakes. I didn’t count my own hours, but I guess it was in the hundreds.
- Missing tools delay things. I often reached practical limits when I simply didn’t have the right tools available. That starts with a tool belt to have nails and small stuff at hand all the time, and ends with power tools that I had to buy first (angle grinder, circular saw, jigsaw, router, …). Fortunately, DIY power tools (corded) are relatively cheap to buy.
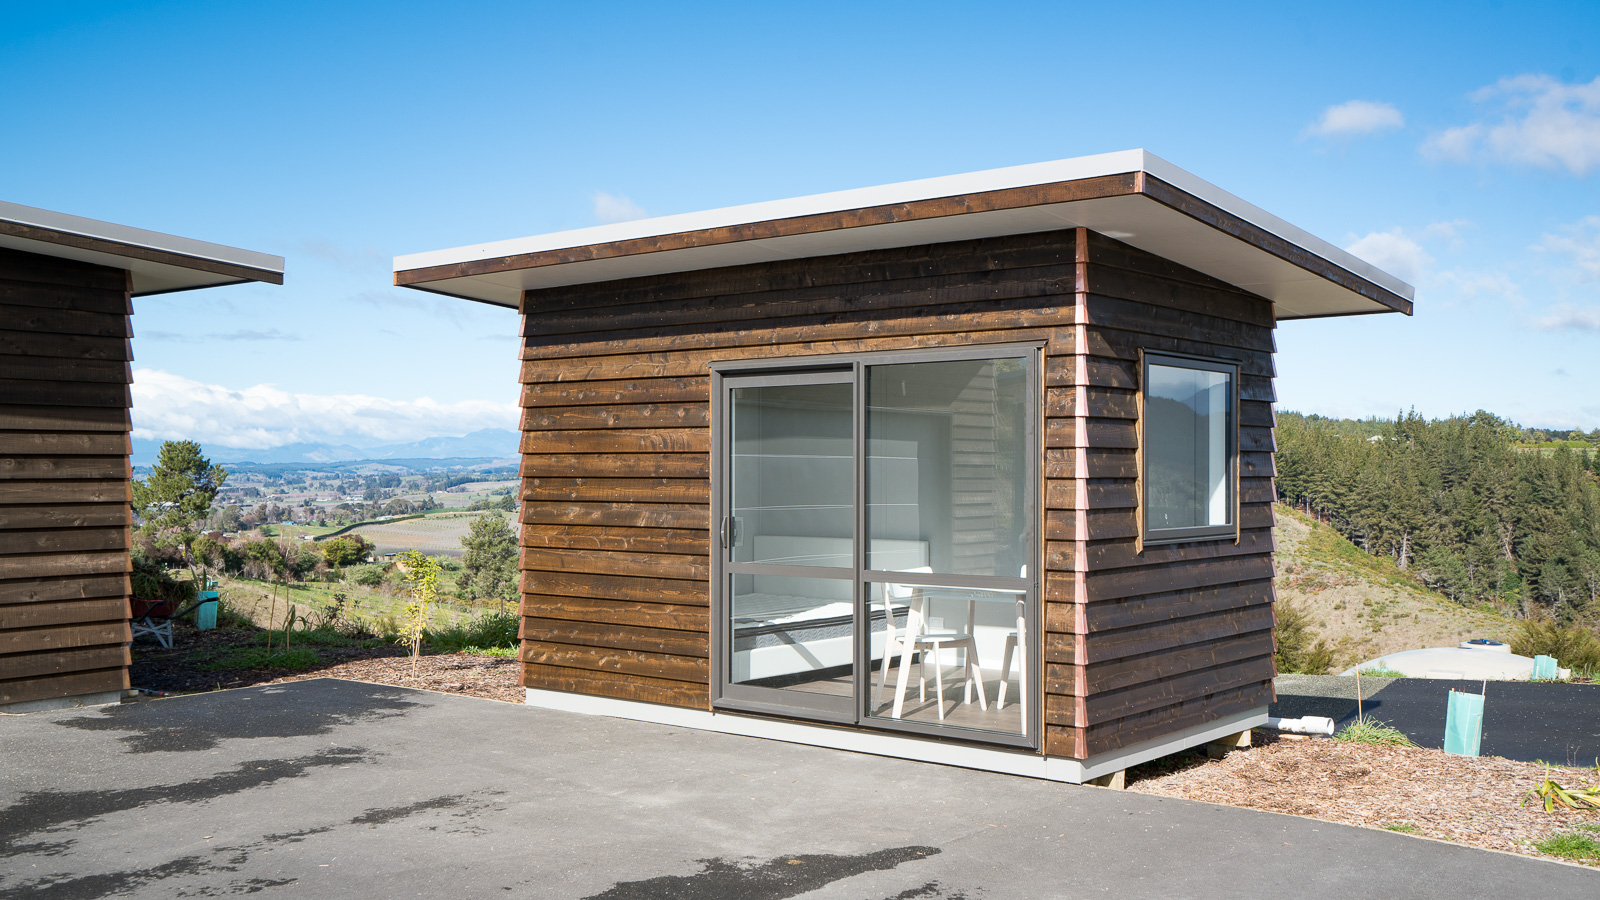
- Building materials are very expensive in NZ. Before I started the project myself, I asked a builder how much it would be if they build it. The 10 m2 sleepout was quoted for $28.000, without electrical and painting works, so at least $30k in total. I knew that about half of the costs usually are for the materials, which was confirmed when I bought stuff myself. Material costs summed up to $14k total.
- I can’t do everything by myself. I had to hire a builder to help me out with the rough stuff (framing, roofing) as I didn’t want to buy a nail gun and working up on the roof isn’t my thing really. That added another $3k to the bill. But I’m happy with the final outcome. $1,700 per m2 finished space is not that bad and I saved about $13k compared to the builder’s quote.
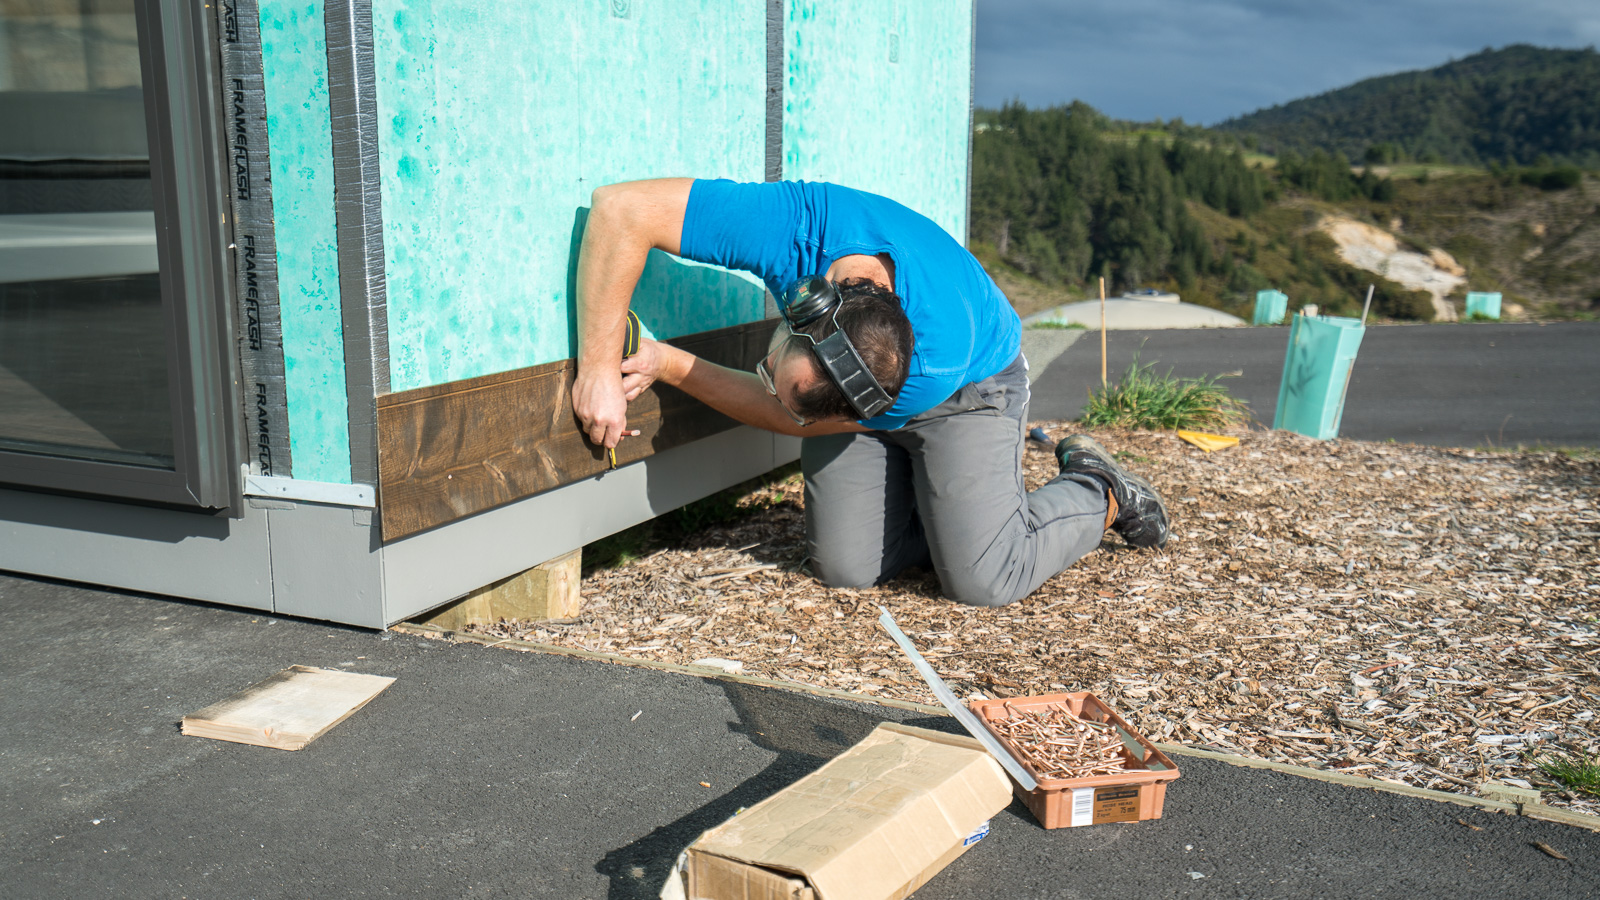
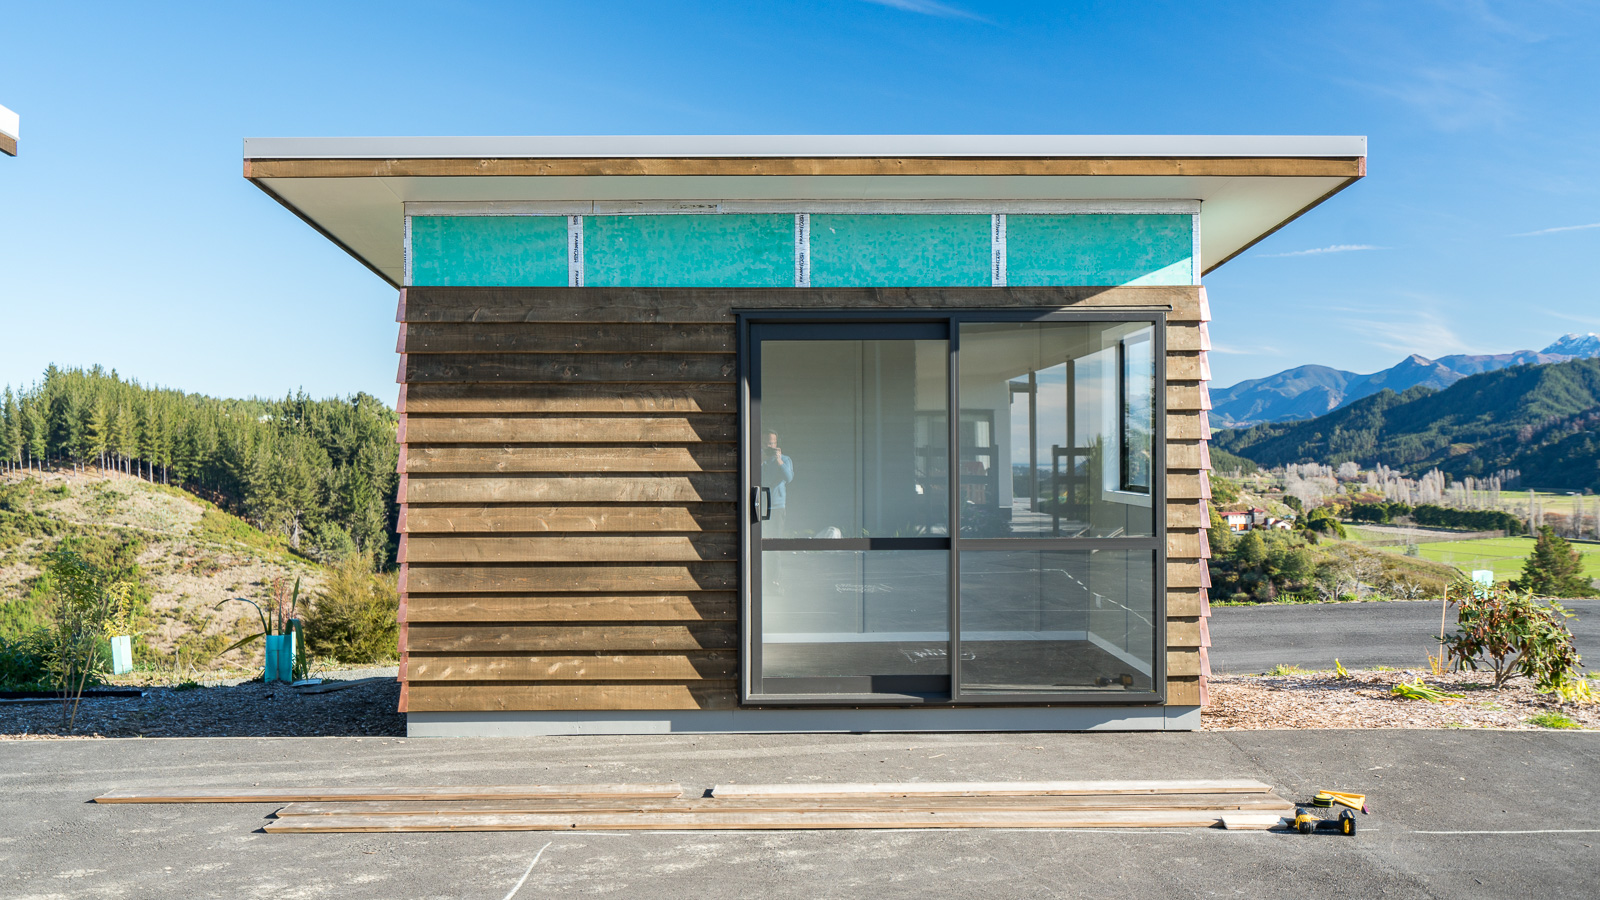
- Fancy timber cladding is expensive. When we decided for bevelback lawson cypress cladding for our main house, it was just an aesthetic decision, but we didn’t know how much labour goes into things like that. Wrapping the sleepout in simple but still aestetic exterior plywood would probably have cost only a few hundred dollars and two days of work, but the lawson cladding with the copper soakers and bronze nails was almost $5k in materials alone. It also was by far the most time consuming part (estimated 60h+), as each board had to be painted twice, cut precisely and nailed with very easy to bend bronze nails (all pre-drilled) every 400mm. It was nice work for me after all, but not really efficient. Big respect for the builders who built our house in just 6 months!
- Experience makes precision. I tried to do things as precise as possible, but because of my lack of experience, some minor things went wrong. The roof isn’t 100% level (off by 10mm on 4m length), I forgot to leave a small gap between the RAB boards which causes them to slightly bend in winter when they get wet and expand, the window reveals are not 100% straight as I tightened the screw just a bit too much when installing (and didn’t notice before the paint was already on), the interior lining is not 100% flat and you can see it when you’re lying in the bed, etc. But I can live with those minor faults, for now. ;)